Motorcycle Paint Protection Film Fitting Guide
This guide will show you how to install paint protection film on your motorbike using one of our pre-cut paint protection kits.
You will need:
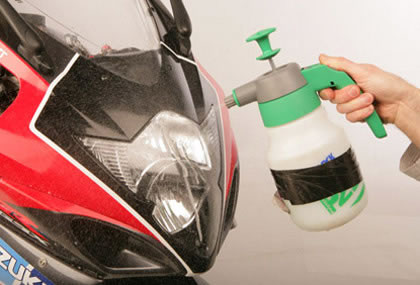
- Spray bottle (slip solution) – fill with water and add 2-4 drops of washing up liquid
- Squeegee
- Clean/dry/calm environment - ideally inside, or outside on a still, dry day
1. Before your start, the surface of your bike must be clean, free of wax, grease, bugs etc. Any dirt will show up in the film.
2. Clean your hands thoroughly and keep your fingers wet, as they will come in contact with the adhesive side of the material occasionally and wet fingers will not stick to material or leave marks on it.
3. Check part position, shape, and size on your bike before installing.
4. Spray plenty of the slip solution (water and washing up liquid) on to the bikes surface where the piece of film will be applied.
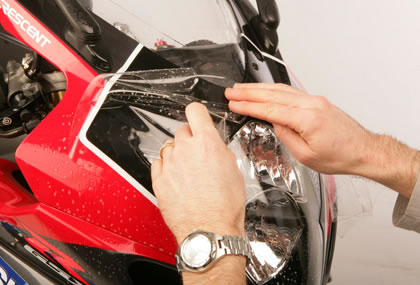
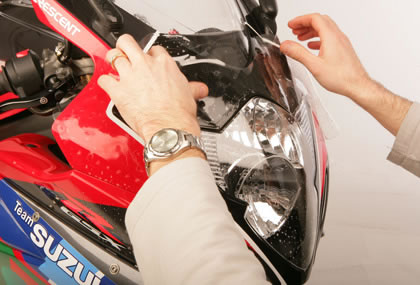
5. Pull the protective liner back from the paint protection film to reveal the adhesive side. Spray this with slip solution and position the part on bike. As long as there is solution under the film, it can be repositioned.
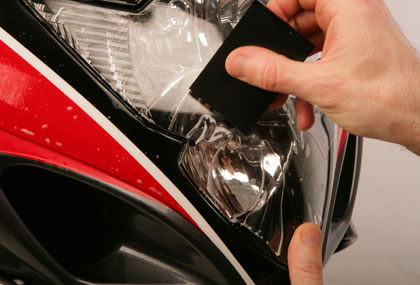
6. Spray slip solution on top of piece so the squeegee will not stick or scratch the film. Starting in centre, squeegee out solution and any bubbles. Overlap squeegee strokes to avoid leaving any bubbles under material.
7. For recessed areas or compound curves, re-wet the adhesive and slowly squeegee again with firm pressure. The paint protection film will stretch. Some pieces will require stretching to obtain proper fit and to conform to the contour of curves.
8. If any edge has lifted or won’t stay down, spray with a solution of 50% isopropyl alcohol and 50% water, and work down edge with lint free paper towel. The towel will absorb the liquid so the material will adhere to the painted surface. Sometimes if you give the edge a few minutes to dry, it will stay down.
The material may be gently pulled back up if necessary to reposition the piece, or if you have trapped air or an excessive amount of solution under the material. Do not worry about small pockets of solution trapped under the material, as over time the solution will evaporate, making the spot unnoticeable.
Air, however, must be removed. Any attempt to pull the material back up must be done within 10 minutes of application, or excessive stretching will occur. Check the material often for bubbles. If you accidentally stretch the material too far, you may end up with the piece overlapping the adjoining piece. If this occurs, it will be necessary to trim the edges of the piece with a sharp blade. Take care not to cut all the way through the material to the paint. You need only cut through the urethane layer, not all the way through the adhesive layer. Be gentle at first, increasing pressure if necessary to get through the film. Pull the excess film away with your fingernail.
No special care is necessary for your kit once installed. Wait 48-72 hours before washing. Then you may wash and wax it just as normal. You may experience a wax build up along the edges of the kit. Use a cotton bud or soft brush to gently wipe away excess wax. Never use any abrasives on the film.
REMEMBER: You cannot use too much solution!
HINTS: Overlap squeegee strokes to avoid trapping air or solution under the material. Excessive stretching is not recommended, however, some gentle stretching may be required to fit some curves.
TIP: Installation must be in a dry and calm environment. Wind & dust are your enemies!