How To Tint Car Windows - Videos & Guides
Knowing how to tint car windows couldn't be any more simple. We have provided easy to follow 'How to Guides' no matter which window you are tinting.
What you will need:
To get a great finish you not only need to have a great understanding of how to apply your window tint, but you will also need the right tools to get that professional finish. In order to get that perfect looking tint on your windows, you will need the following:
- Window Tint: Quite obviously the most important on our itinerary
- Film Application Solution: Also known as tint slime, when added to water gives you a soapy solution, essential for applying your window tint.
- Razor Knife/Blade: The sharper the blade, the sharper the finish.
- Scraper Blade: Removes any hidden dirt.
- Lint-free Cleaning Cloth: This helps keep your work area clean and uncontaminated.
- Squeegee: Very useful for smoothing our and removing pockets of air that sit underneath the film.
- Heat Gun: Helps the film shrink to size on curved windows.
If you are just starting out, and wondering what the most suitable tools are for the job, we have created a window tint fitting kit to get you started.
How to install a pre-cut fixed side window tint
Experience level: Beginner
Duration: 2.23
How to install a pre-cut roll down window tint
Experience level: Beginner
Duration: 3.37
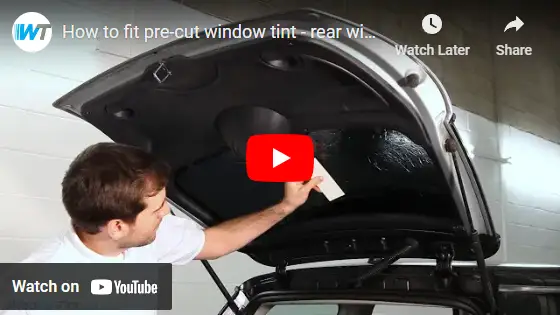
How to install a pre-cut rear windscreen tint
Experience level: Beginner
Duration: 4.33
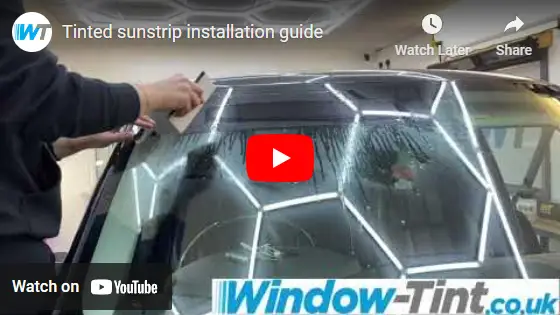
How to install a pre-cut sunstrip
Experience level: Beginner
Duration: 1.41
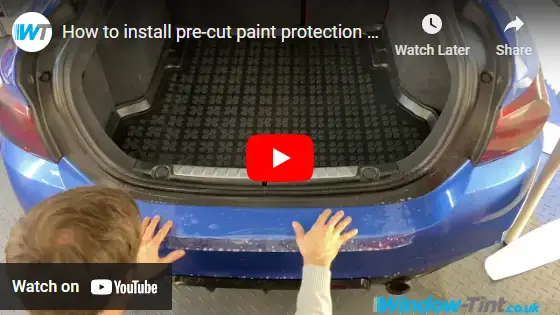
How to install pre-cut paint protection film
Experience level: Beginner
Duration: 0.50
How to install frosted window film
Experience level: Beginner
Duration: 4.17